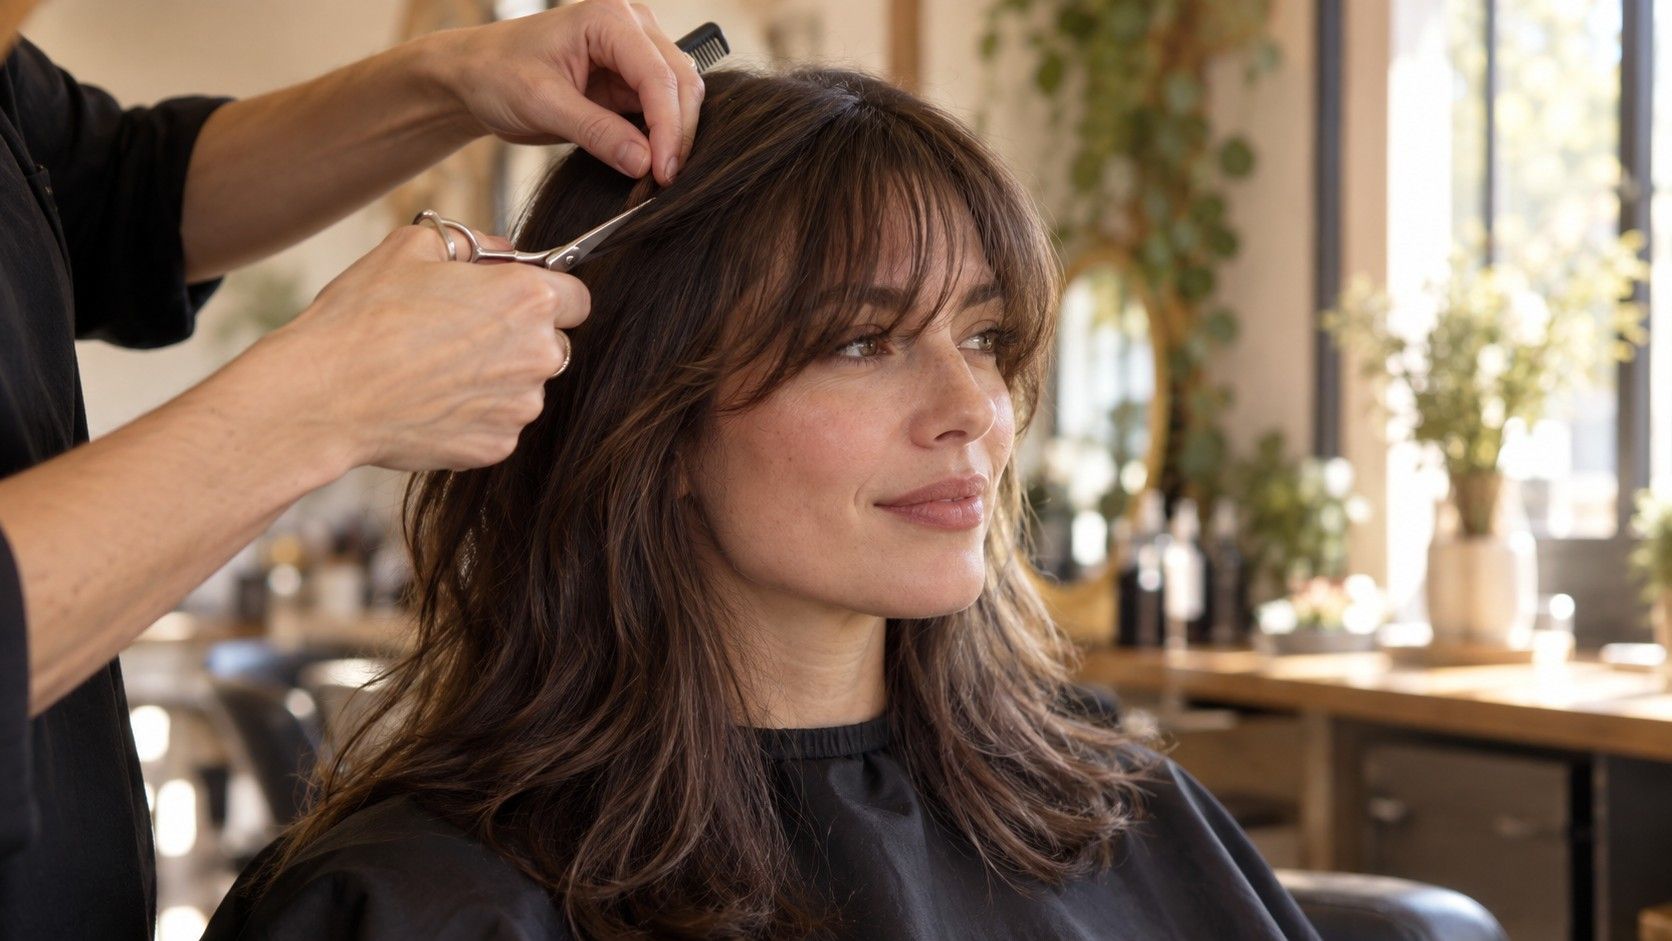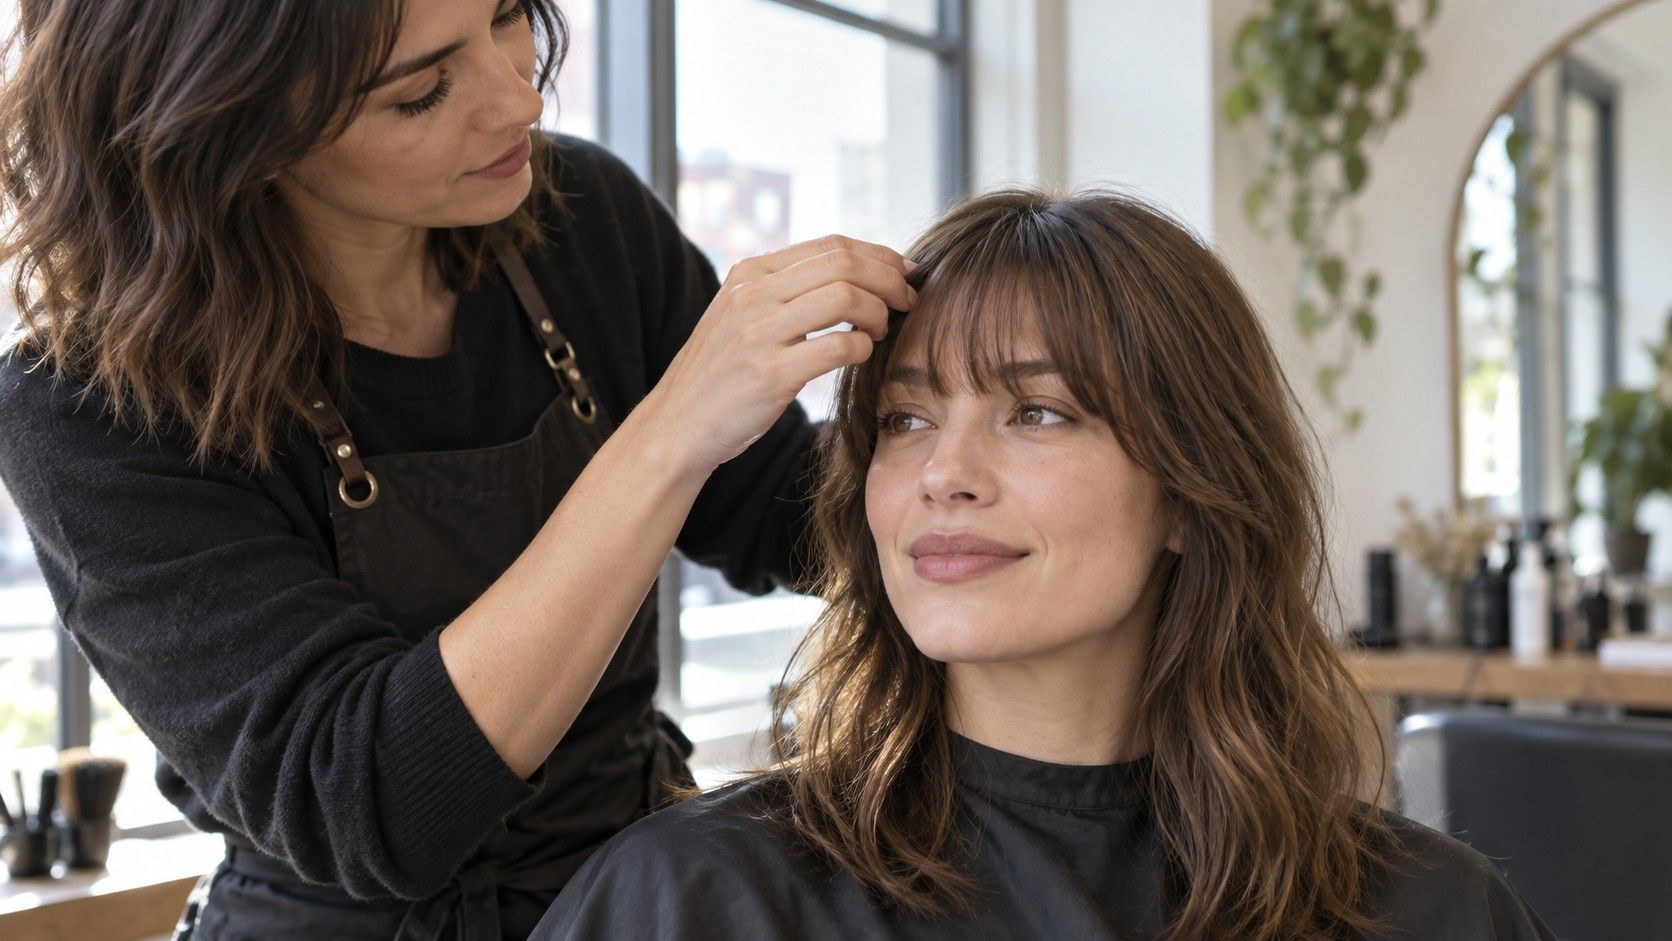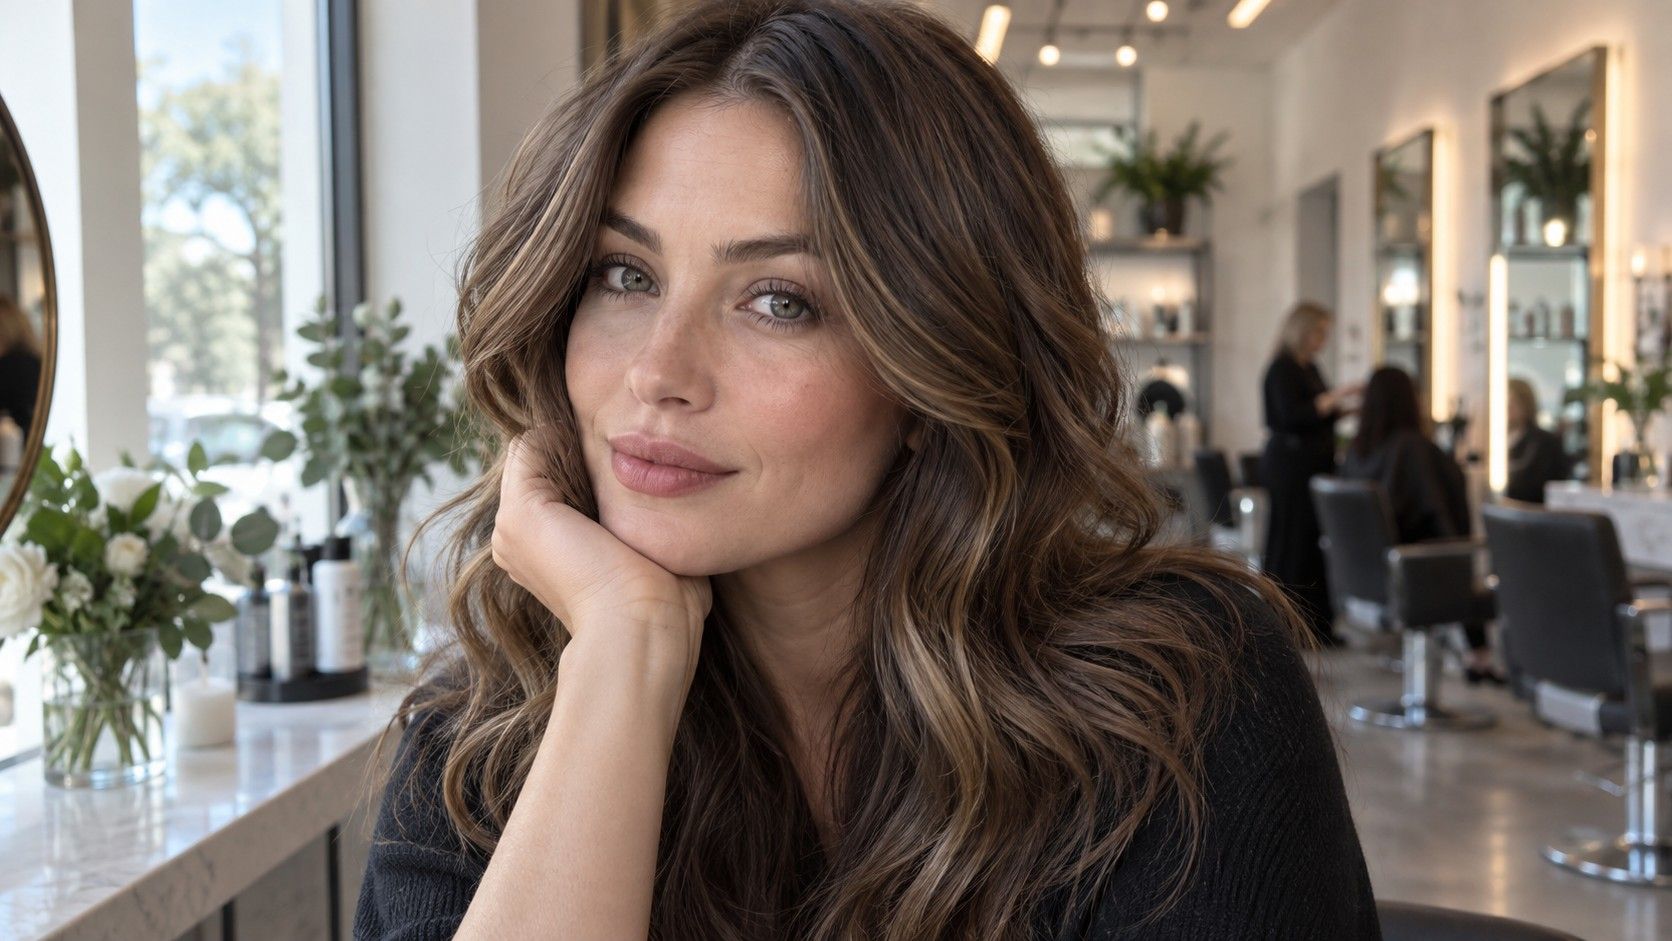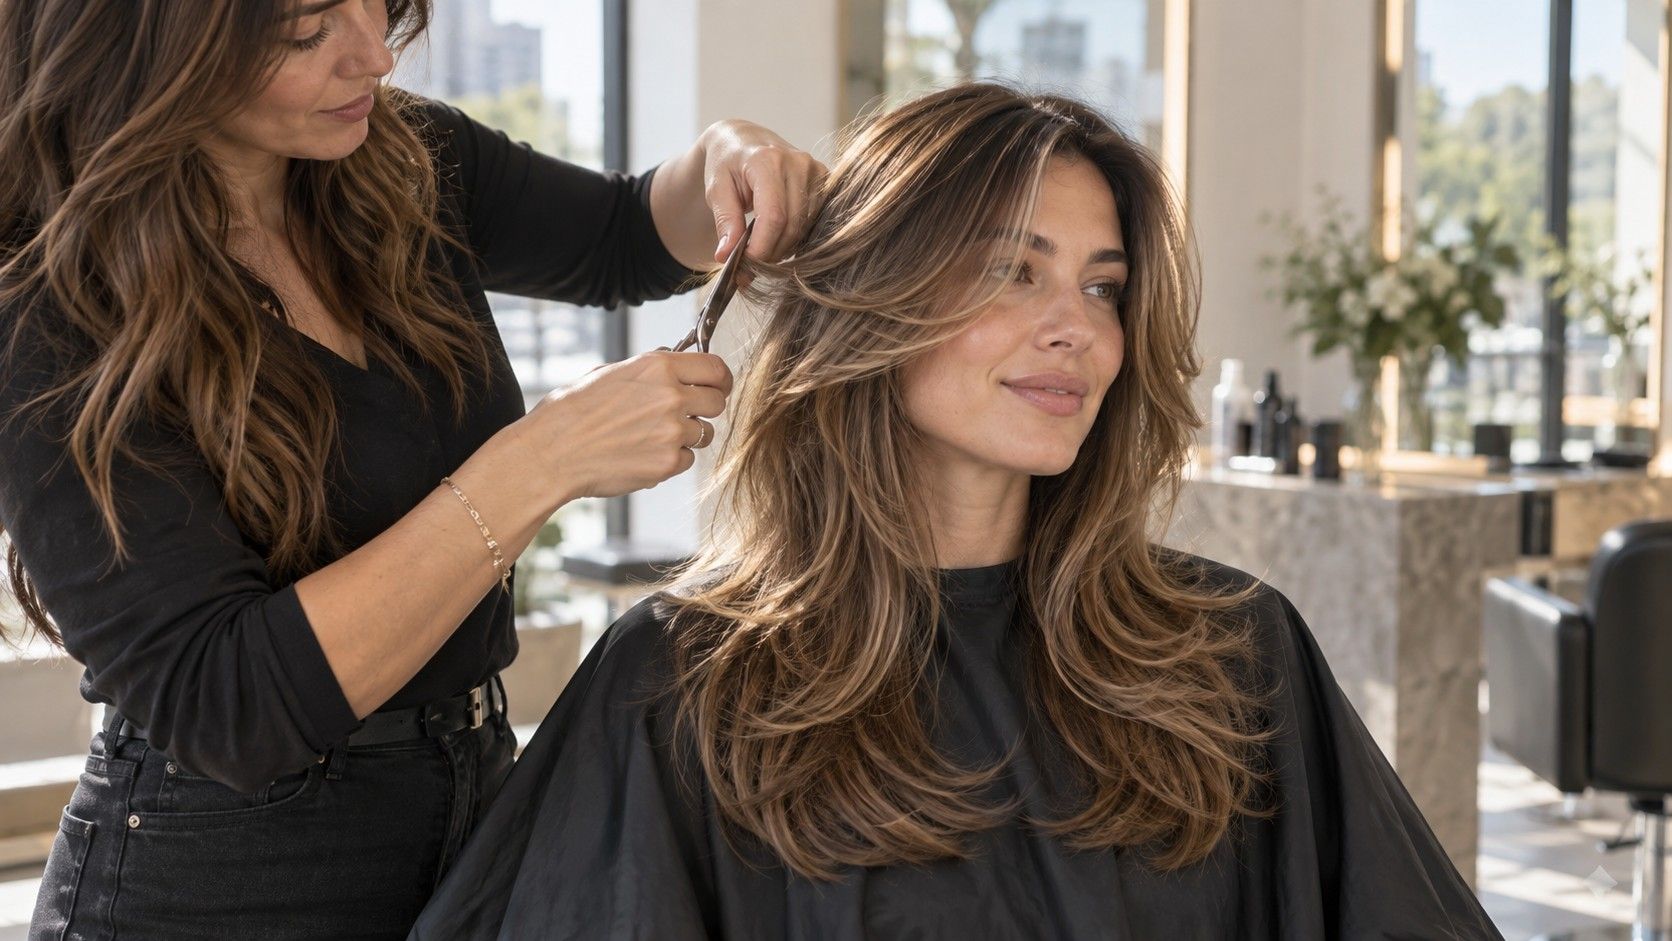
A chest length butterfly cut can look like a dramatic new haircut without giving up the length that took years to grow. That promise is real, but the photograph usually leaves out the useful details: how much hair is actually layered, whether your ends are fine or dense, and what happens when the salon blowout has been slept on twice. The most convincing version is not the biggest one. It is the one whose layers still make sense with your normal part, texture, and fifteen-minute weekday routine.
What the butterfly shape changes at chest length
At chest length, the cut has enough canvas for two distinct shapes: shorter curves around the cheekbones and longer movement from the collarbone down. The face-framing pieces are what create the lift people notice first. The back is usually kept long, then connected with rounded layers so it does not look as if a fringe was attached to a separate long haircut. Done well, it makes heavy hair move when you turn your head without making the ponytail suddenly skinny.
Length matters more than the trend name. Hair that lands just below the chest can carry a longer first layer and still look soft; hair at the top of the chest may need the first visible layer closer to the collarbone. If both the shortest layer and the overall perimeter are cut too high, the shape reads more like a shag. Bring a photo of your hair from the back as well as from the front. A stylist needs to see whether the ends already look solid, wispy, or uneven before deciding how much weight can be removed.
Decide whether you want a full cut or butterfly haircut only front
A butterfly haircut only front is a sensible request when you like your blunt back length, wear extensions, or have spent a long time growing out old layers. In that version, the stylist creates a gradual curtain around the face and blends it into a few discreet long layers. It gives the front a softer outline in photos and when the hair is down, while the back remains relatively untouched. It is also easier to reverse if you discover that shorter pieces annoy you in a bun.
The compromise is that front-only layers cannot create the sweeping, airy movement seen in a full round-brush style from every angle. Thick hair may still feel like one heavy sheet through the back. Fine hair can benefit from the restraint, because a full set of short internal layers may make the ends appear transparent. Ask the stylist to show you, with the hair held forward, where the shortest piece will sit when it is air dried. A vague request for “lots of butterfly layers” gives away too much control.
| Starting hair | Usually the safer direction | Check before cutting |
|---|---|---|
| Dense, straight chest-length hair | Connected face frame and medium long layers | Keep enough weight in the perimeter for a full-looking hemline |
| Fine or low-density hair | Longer face frame with minimal internal layering | See how the ends look when hair is pulled over both shoulders |
| Wavy hair | Layers cut with the natural spring in mind | Agree whether the reference photo is styled or air dried |
| Hair worn up most days | Front-only or long, tie-back-friendly pieces | Test the shortest layer in a ponytail before committing |
How an air dried butterfly cut actually behaves
An air dried butterfly cut is not automatically a bad idea, but it will not copy the loose, feathered bend created by a blow-dryer and round brush. Straight hair often settles into subtle separations around the face, while a natural wave can make the shorter sections spring up more than expected. Humidity complicates both: the front may bend nicely but the crown can expand, especially if layers were cut aggressively into thick hair.
Try an honest test before the appointment. Wash your hair, use the product you normally use, make your usual part, and let it dry without touching it every five minutes. Photograph it from the front and side. That is the evidence a stylist can use to position layers, not a filtered photo made after someone else styled the hair for forty minutes. If you dislike any natural wave around the temples, ask for a longer starting point. A shorter layer does not become calmer merely because it is called face-framing.
What to say in the chair instead of asking for a viral cut
Useful language is specific: say where you want the first layer to fall, whether you want to preserve a blunt back line, and how often you use heat. Mention your usual part and whether you tuck hair behind your ears. A centre part puts the two front arcs on display; a deep side part can make one side appear much shorter. If your hair is colour-treated or has breakage around the face, point that out. Those pieces may not have the density to hold a dramatic curved layer.
It helps to name the result you do not want. Some people fear a shelf, where one blunt tier sticks out at the jaw. Others dislike a shaggy crown or do not want strands escaping every claw clip. Ask the stylist to begin conservatively and reassess with your hair dry. More movement can be cut in; hair removed from the crown cannot be pasted back before Friday. This is particularly relevant with a chest length butterfly cut, because the difference between soft shaping and obvious layers can be only a few inches.
Styling time is part of the haircut, not an afterthought
The polished version needs direction at the roots and a bend away from the face. A large round brush, hot brush, rollers, or even two large clips while the hair cools can do that job. You do not need a complicated routine, but you do need to accept that the airy picture is a styled picture. On freshly washed hair, rough-dry the roots first, then direct the face frame away from the cheeks. Let it cool before brushing through or the curve falls out almost immediately.
If that sounds like a chore, build the cut around your easier routine. A long layer that looks deliberate with a quick blow-dry is usually better than a short layer that needs daily persuasion. Ask for product guidance suited to your texture: a tiny amount of smoothing cream helps a rough front section, while heavy oil can make fine layers separate into strings. Photograph the result yourself after styling it once at home. That tells you whether the cut works for your life rather than for the salon mirror.
How to stop the layers turning into a shelf
A shelf usually appears when many pieces begin at exactly the same level, or when the shortest area is disconnected from the hair beneath it. Dense, pin-straight hair shows this most clearly. The remedy is not necessarily more thinning; it is a more gradual connection and enough length between visible tiers. Ask to see the side profile after the first pass. You should be able to trace a soft diagonal from the cheekbone area to the chest-length ends rather than a ledge at the jaw.
Maintenance also matters. The shape can become awkward after several months if the front grows into the next layer while the ends stay dry. Most people benefit from checking the face frame and perimeter every eight to twelve weeks, though very curly or low-maintenance hair can stretch that longer. Between trims, avoid repeatedly cutting the front at home after watching a short video. Tiny changes at the cheek can alter the entire balance. Let the haircut grow as a connected shape, not as a collection of emergency fixes.
Choose the version you will still like on an ordinary morning
There is no single correct butterfly cut chest length. A full layered version suits someone who enjoys styling and wants movement through the whole back. A restrained front frame suits someone protecting density, growing hair, or relying on a ponytail. The best decision comes from looking at your unstyled texture, your ends, and your actual schedule before falling for the most dramatic reference photo.
Save two or three images, not twenty, and annotate what you like in each one: the cheekbone length, the fullness at the ends, or the way the front opens around the face. Then tell the stylist which feature matters most. That small piece of clarity prevents a familiar disappointment: receiving a technically good trendy cut that only works when someone else has the brush, the lighting, and the time.